My Pi Cluster
Creating a cluster of Raspberry Pi's.
After many different uses for my collection of older Model B Raspberry Pi’s I have settled on their best use being to host small static internal and public websites. After several iterations I have also determined that the one thing that I definitely do want, is to minimise the management of the cluster as much as possible. For this reason I am going also use this cluster to experiment with docker and kubernetes. I want to use this as a learning experience with Kubernetes. I generally learn best by doing and as an engineer I am really interested in finding what happens when things fail and how best to understand how to fix them. In order to do this with Kubernetes I feel first I need to understand how to build a Kubernetes cluster.
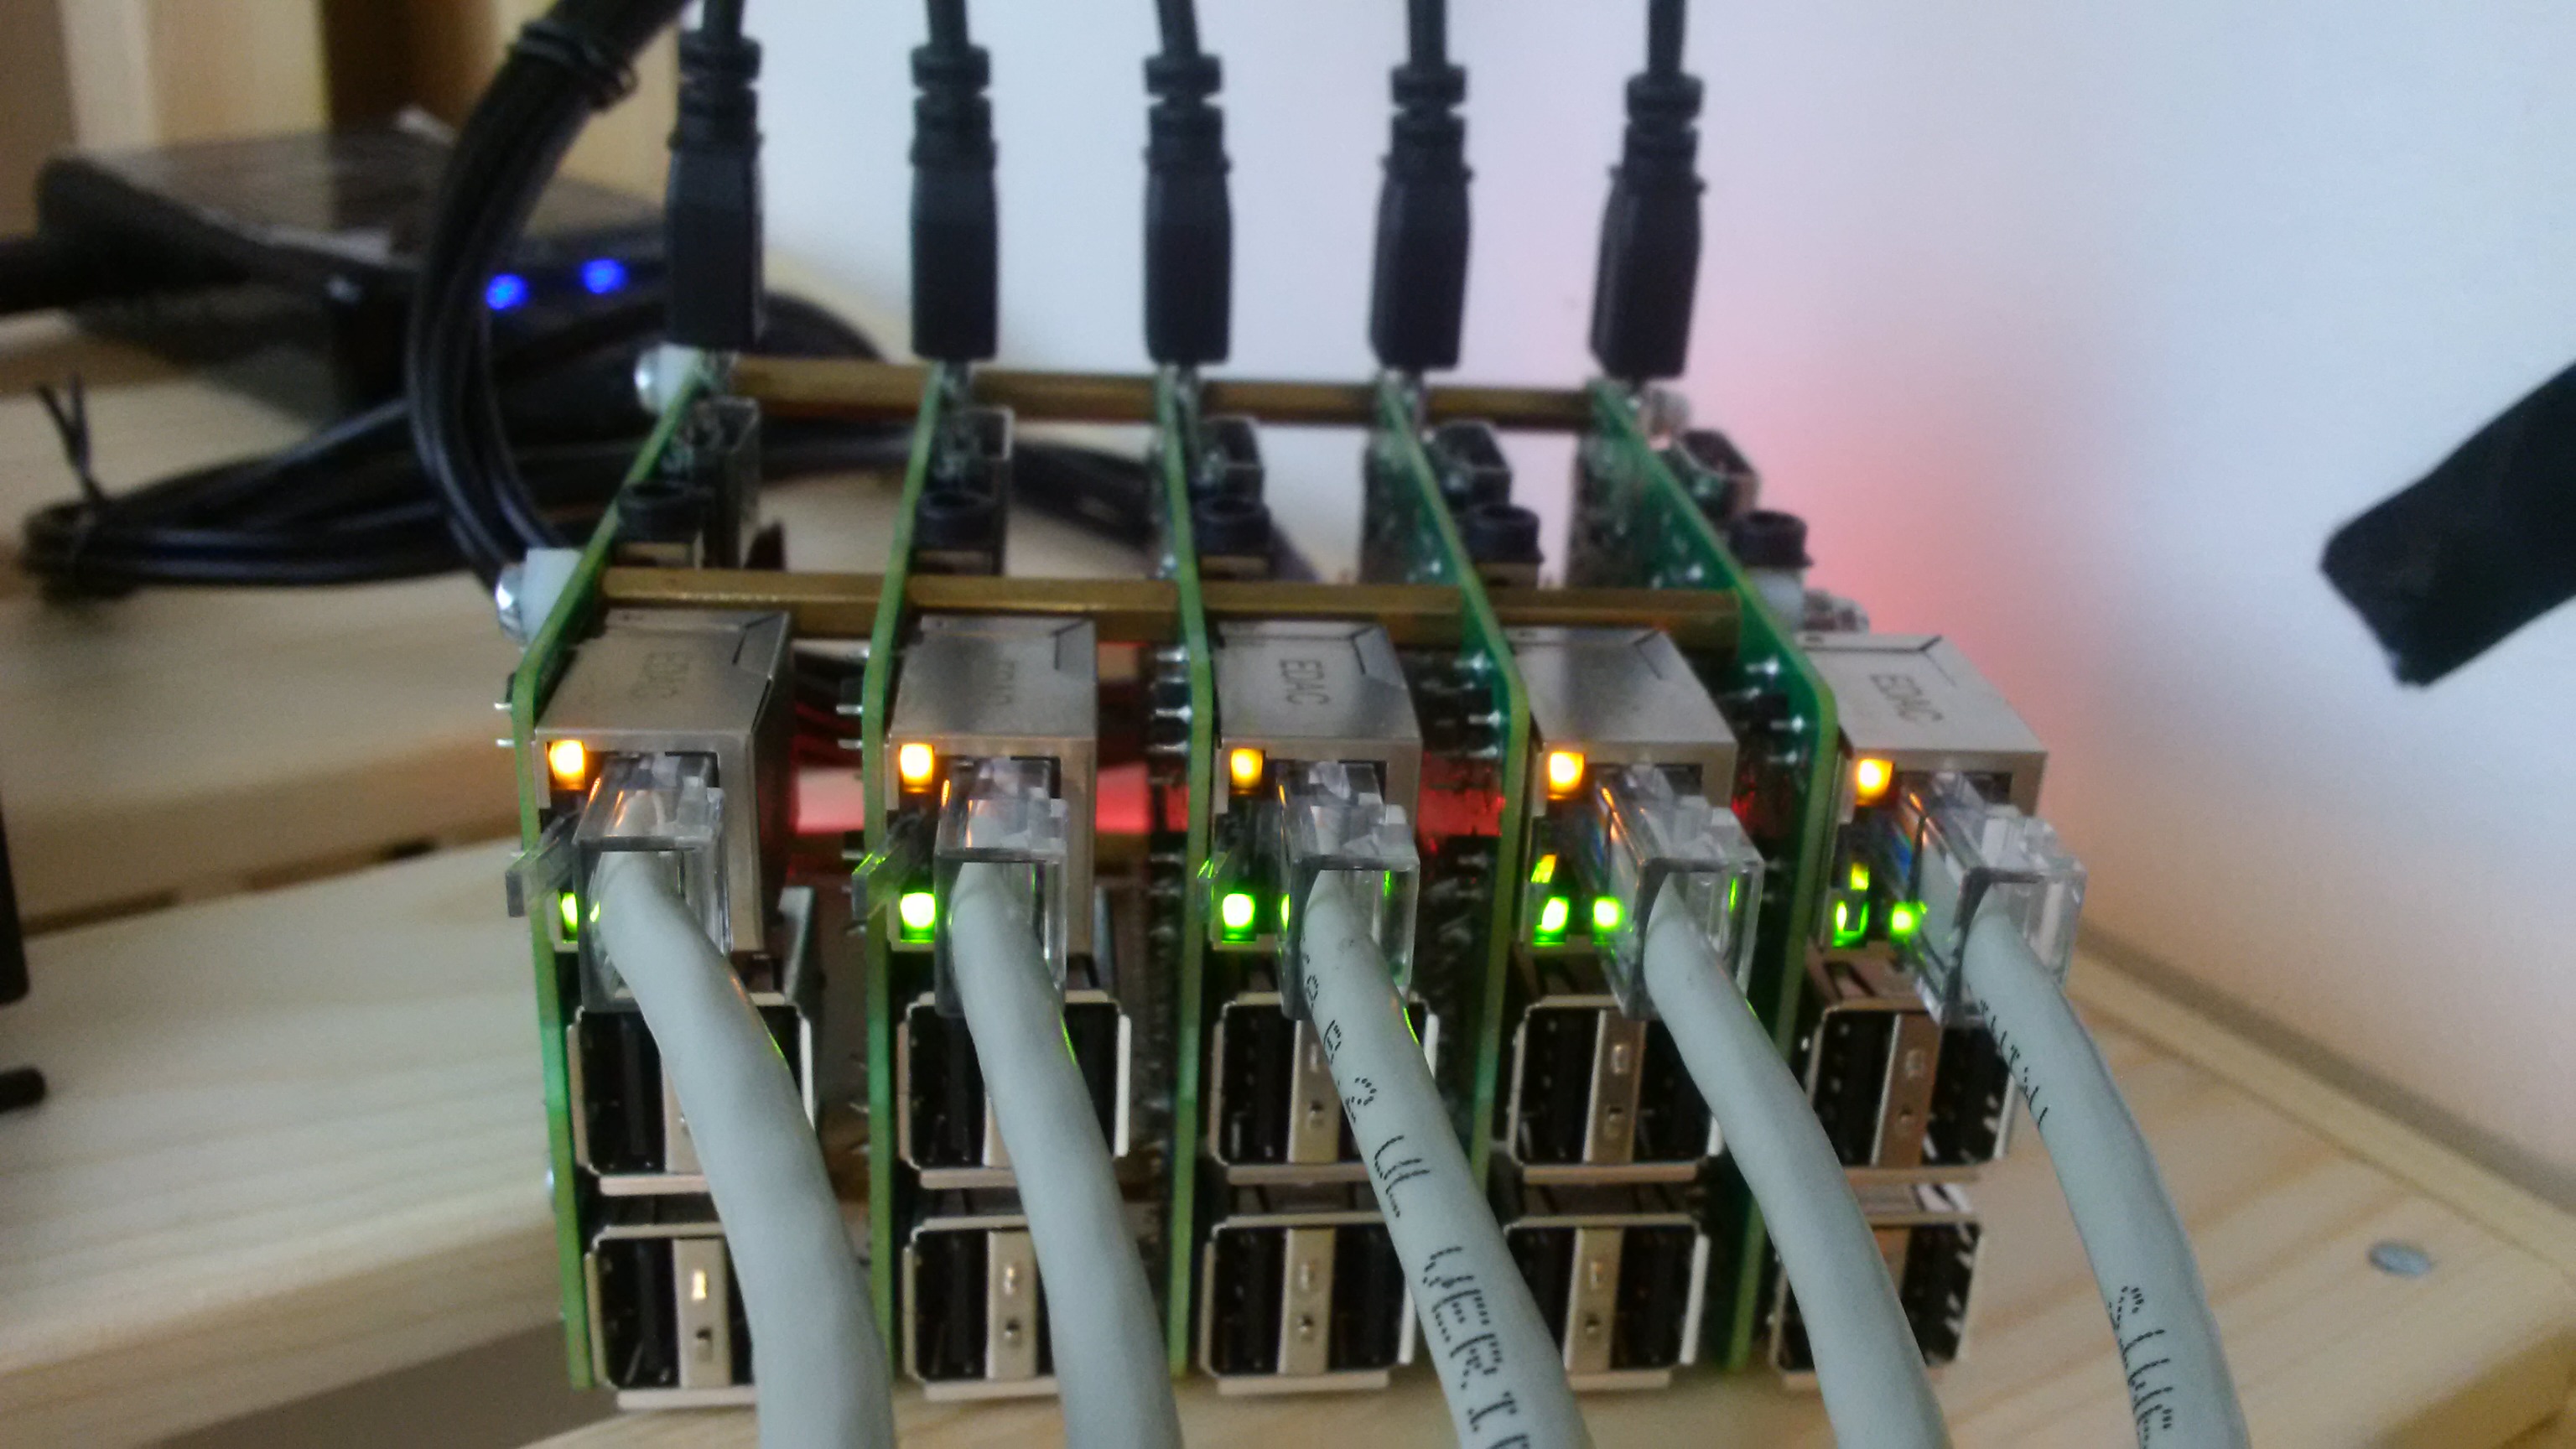
Thankfully, I have a collection of raspberry pi’s collecting some dust and thought this would be great exercise, because we can introduce real network failures etc etc very easily ( I have a nice thunderstorm brewing as I write this). The raspberry pi’s are older Model B’s but thankfully I have an old 16 port gigabit Cisco switch I was given many years ago (thanks Jason) and I have managed to create some ethernet cables to avoid the instabilities and power draw issues of using USB Wifi dongles.
So I have 6 raspberry pi’s but the next question is do I have enough memory to run docker and kubernetes on these 1GB “servers”. After several false starts spread over a couple of months (I have a day job) I have finally managed to come up with a solution that seems to work in a stable manner and was good enough to document and share.
Installing an OS
The first step is to download the latest raspbian image (buster) and write it to the 8GB SD cards (bigger would be nicer). I went for the lite image https://downloads.raspberrypi.org/raspios_lite_armhf_latest which when unzipped is around 2 GB. Copying the image to the SD cards on a Mac is really straightforward.
Insert the SD card into an SD Card reader Use diskutil list to identify which disk the SD Card is mounted as.
Unmount the SD card
diskutil unmountDisk /dev/disk3
Use the unix utility dd to copy the image to the SD card
sudo dd bs=1m if=2020-02-13-raspbian-buster-lite.img of=/dev/rdisk3; sync
Finally eject the disk
diskutil eject /dev/disk3
The final thing to remember (and I always forget) is to access the raspberry pi’s via ssh (and we have to) we need to enable ssh by creating a file called ssh in the top level directory of the image. So insert the SD card back in the slot and
touch /Volumes/boot/ssh
Insert the SD Card in the raspberry pi and it should boot, and give you access over ssh with the username “pi” and the default password “raspberry”. I won’t bore you with the network setup as this very much depends on your home network. I have decided to use pure default DHCP (default config) with my ISP router because I am curious what will happen when the IP addresses change. In my home network once I provide each raspberry pi with a unique hostname (edit /etc/hostname) I can connect to the raspberry pi by their hostname, the IP addresses appear utterly random e.g.
ping pi-node3
PING pi-node3 (10.0.0.138): 56 data bytes
64 bytes from 10.0.0.138: icmp_seq=0 ttl=64 time=1.596 ms
64 bytes from 10.0.0.138: icmp_seq=1 ttl=64 time=1.334 ms
So now we should have a collection, in my case six raspberry pi’s on our network with unique hostnames that are remotely addressable and accessible via their hostnames, the next steps which I will cover in a later blog post is how to build a Kubernetes cluster.